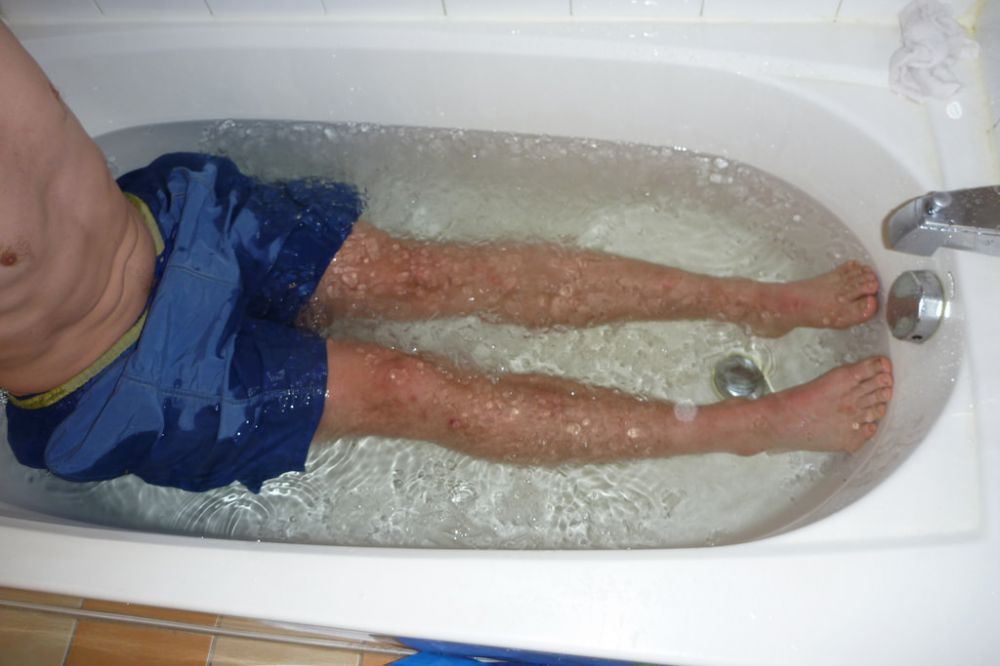
Ice Bath 201: How to Set Up the Perfect Post-Workout Ice Bath at Home
CAUTION: Consult with your physician or fitness expert PRIOR TO UTILIZING AN ICE BATH to ensure that it is suitable for you. This content is not intended to be a substitute for professional medical advice, diagnosis, or treatment. Ice baths are NOT for everyone. As an example, people with cardiovascular diseases and kidney problems are strongly-advised to avoid this form of muscle recovery. Never disregard or delay seeking professional medical advice or treatment because of something you have read on the Reddy Ice website or blog. Reliance on any information provided by Reddy Ice on the website / blog is solely at your own risk.
We’ve written about the benefits of ice baths in a previous blog. Feel free to give it a quick read to educate yourself regarding how ice baths help with recovery.
We are all very familiar with the pain that awaits when Delayed Onset Muscle Soreness (DOMS) sets in after a workout. Experts suggest that immediate muscle recovery methods formulate the best course of action to prevent the occurrence of sore muscles and inflammation. Professional athletes often turn to using ice baths as a method of quick recovery post games, or following intense training. Andy Murray, Jessica Ennis-Hill and LeBron James are a few of the athletes who have been strong advocates of this form of cryotherapy and the positive aspects that surround its usage.
Since the outbreak of the COVID-19 pandemic, people have increasingly adopted at home workouts to help achieve their healthy living goals. This includes the use of at home post-workout recovery methods like ice baths which forms the main subject of this article.
Below are some advantages of ice baths after intense workouts:
- Reduce inflammation
- Prevent injury
- Soothe sore muscles
- Improve circulation
- Boost human growth hormones
- Bolster overall immune system
In this article, we’ll tell you how to prepare your own after-workout ice bath at home! And, guess what? It definitely does not break the bank to set one up.
Say goodbye to post-workout pains.
What you’ll need:
- Bathtub: The standard residential bath tub might not be large enough for comfortable immersion. If the one you have at home is too small for an ice bath, there are some great alternatives that you can explore:
– Stock Tanks: They are sleek and easy to drain and clean. If you are able to purchase one that holds approximately about 100 gallons then you are good to go!
– A Clean Wheelie/Trash Bin: Yes, you heard it right, if you are new to ice baths but aren’t really sure if you’re going to love the experience, then just grab a trash can that is large enough for you from a home supplies store and you’re all set for your first test run!
– A Kiddie Pool: Another great cost-effective hack is getting yourself a large, inflatable kiddie pool and setting it up in your backyard.
– Chest Freezer: Serious about making ice baths a part of your fitness regimen? Invest in a chest freezer. They’re compact, easy-to-use and most importantly, spill-free. - Water: Once you have identified your container of choice, fill it up half-way with some water (preferably cold). To keep the water clean, throw in some epsom salt.
- Reddy Ice Bags (1-3): Start with adding one bag of Reddy Ice into the water. Check the temperature of your bath and add more ice until the temperature reaches 55–60 °F (13–16 °C). As your body gets accustomed to the cold, you can lower the temperature by adding more ice (make sure to proceed with extreme caution).

Time to take the plunge!
Brace yourself! It is not going to be a particularly pleasant experience. You might even hate it. “Almost everyone likes getting into heat, whereas most people’s initial reaction to an ice bath is ‘get me out of here now!’” says Dr. Andy Galpin, a muscle physiologist at Cal State Fullerton and co-author of the bestselling book ‘Unplugged.’ For starters, stay in the bath for about 8-10 minutes to get your body acclimated to the new temperature. You can increase the length of your bath up to 15 minutes over the next few instances if you learn to withstand the cold.
Additional Tips:
- Enter the bath slowly to ensure that you provide your body time to acclimate. Immerse only the lower half of your body first. Later, you can start to immerse yourself up to your chest region.
- Wear a long-sleeved shirt made from a dry fit material or a sweatshirt to stay warm.
- Wear socks and booties to keep your feet comfortable.
- If you feel too cold going into the ice bath, get into the bath first and then start adding the ice cubes. Your body will better learn to adapt to the cold this way.
For better results from your ice baths, you can also try contrast therapy by alternating between ice and heat. Start with around 10 minutes of heat therapy, such as a steam or a sauna, and then get into an ice bath for a few minutes. Repeat the process a couple more times until you are comfortable!
Ice baths are easy to set up and are an extremely beneficial method for muscle recovery. They are only recommended by experts after an intense game or workout session, and should be administered within 30 minutes of play. And most importantly, moderation is absolutely key!
